The Importance of a Whistle in Your Emergency Kit
Why a Whistle Emergency Kit is a Must-Have for Survival and Safety
Okay, let's talk whistles. Seriously. You might think of them as something for sports coaches or annoying kids, but in an emergency situation, a whistle can be a lifesaver. Think about it: you're lost in the woods, injured, or trapped after a natural disaster. Yelling can only get you so far, and it'll drain your energy fast. A whistle, on the other hand, is small, lightweight, and can produce a piercing sound that travels much further than your voice. It's a simple piece of kit that can dramatically increase your chances of being found. Let's dive into why a whistle should be a non-negotiable item in your essential emergency kit.
The Science Behind a Whistle's Sound Emergency Uses
Human vocal cords aren't really designed for sustained, high-pitched calls for help. We get tired, our voices crack, and the sound doesn't carry well, especially in windy or noisy environments. A whistle, however, is designed to produce a concentrated, high-frequency sound. This frequency is more easily heard over long distances and can penetrate background noise more effectively. Think of it like this: a flashlight beam is more focused and visible than the light from a candle. A whistle is the flashlight of sound.
Whistle Emergency Kit Uses: Common Scenarios Where a Whistle Can Save Your Life
Let's paint some pictures. You're hiking and take a wrong turn, ending up lost and disoriented as you move deeper into the brush. Or maybe you're caught in a flash flood and swept away from your group. Perhaps you're skiing and get buried in an avalanche. In all these scenarios, yelling might attract attention, but it's far more likely to exhaust you quickly. A whistle allows you to signal for help repeatedly and consistently, conserving your energy and maximizing your chances of being heard. It's also invaluable if you're injured and unable to yell effectively. Think of children too! A whistle is a much easier tool for a child to use to signal for help than yelling.
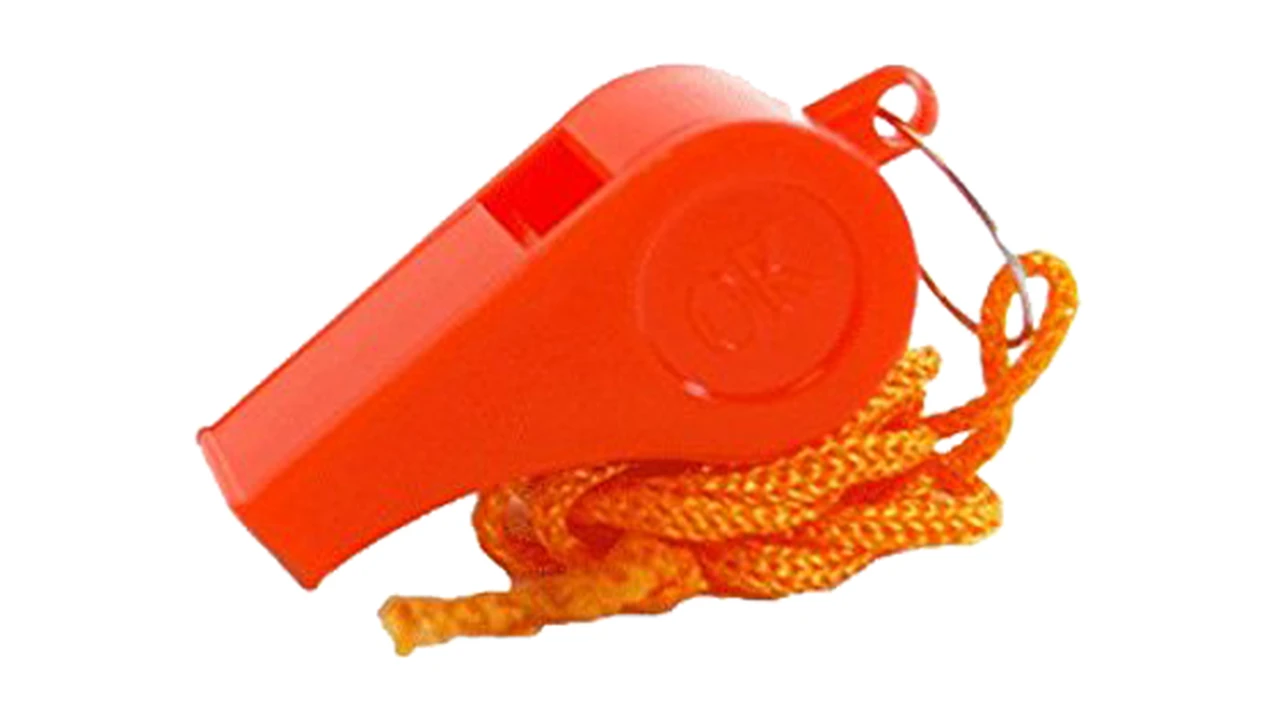
Choosing the Right Whistle: Emergency Whistle Types and Features
Not all whistles are created equal. There are a few key factors to consider when choosing a whistle for your emergency kit:
* **Pealess vs. Ball Whistles:** Pealess whistles don't have a small ball inside. These are generally more reliable, especially in wet or freezing conditions, because they won't get clogged or freeze up. Ball whistles can be louder, but they're also more prone to failure. * **Material:** Plastic whistles are lightweight and inexpensive, but they can be less durable. Metal whistles, like aluminum or stainless steel, are more durable and often louder, but they can also be heavier and more expensive. * **Sound Level:** Look for a whistle that produces a sound level of at least 100 decibels. This is loud enough to be heard over a considerable distance. * **Attachment:** Consider how you'll attach the whistle to your gear. A lanyard is a good option for keeping it around your neck, while a clip can attach it to your backpack or belt. * **Size and Weight:** You want a whistle that's small and lightweight enough to carry comfortably without adding unnecessary bulk to your kit.Top Whistle Recommendations: Best Emergency Whistles on the Market
Okay, let's get down to specifics. Here are a few whistles I recommend, based on different needs and budgets:
* **ACME Tornado 2000 Pealess Whistle:** This is a classic choice for emergency preparedness. It's incredibly loud (over 120 decibels), reliable, and durable. It's made of plastic, so it's lightweight and won't rust. Expect to pay around $10-$15. Great for general emergency preparedness, hiking, and camping. * **Fox 40 Classic Pealess Whistle:** Another popular pealess whistle, the Fox 40 is known for its consistent performance and loud sound. It's also relatively inexpensive, typically costing around $8-$12. Ideal for sports, lifeguarding, and general emergency use. * **UST JetScream Floating Whistle:** This whistle is specifically designed for marine environments. It's waterproof, floats, and produces a piercing sound that can be heard over long distances. It's a bit more expensive, around $15-$20, but worth it if you're spending time on or near the water. Excellent for boating, kayaking, and water sports. * **Nite Ize TagLit Magnetic LED Marker Plus Whistle:** This is a combination whistle and LED marker, which can be helpful for signaling at night. The whistle isn't as loud as some of the other options, but the added visibility makes it a good choice for urban environments. Expect to pay around $10-$15. Suited for urban emergency preparedness, walking at night, and attaching to pet collars.Whistle Emergency Kit Comparison: Choosing the Right Whistle for Your Needs
Let's break down the differences between these whistles to help you choose the right one for your needs:
| Whistle | Type | Sound Level (approx.) | Material | Price (approx.) | Pros | Cons | Best For | | ------------------------- | --------- | --------------------- | ------------- | --------------- | ------------------------------------------------------------------------------------------------ | -------------------------------------------------------------------------------------------------- | -------------------------------------------------------------------------------- | | ACME Tornado 2000 | Pealess | 120+ dB | Plastic | $10-$15 | Extremely loud, reliable, durable, lightweight | Can be a bit bulky | General emergency preparedness, hiking, camping | | Fox 40 Classic | Pealess | 115+ dB | Plastic | $8-$12 | Loud, reliable, inexpensive | Not as loud as the ACME Tornado 2000 | Sports, lifeguarding, general emergency use | | UST JetScream Floating | Pealess | 110+ dB | Plastic | $15-$20 | Waterproof, floats, loud | More expensive than other options | Boating, kayaking, water sports | | Nite Ize TagLit LED Whistle | Pealess | 100+ dB | Plastic/Metal | $10-$15 | Combines whistle with LED marker, good for nighttime signaling | Whistle not as loud as other options | Urban emergency preparedness, walking at night, attaching to pet collars |How to Use a Whistle for Signaling Emergency Situations: The Universal Distress Signal
Knowing how to use a whistle correctly is just as important as having one. The universal distress signal is three short blasts, followed by a pause, and then repeated. This pattern is easily recognizable and indicates that you need help. Continue to repeat this signal until you receive a response. If you hear a whistle signal in the distance, respond with two short blasts to acknowledge that you've heard them and are on your way to assist. It's also a good idea to practice using your whistle before you actually need it, so you're familiar with the sound and how to produce the distress signal. Teach kids the signal too!
Attaching Your Whistle: Emergency Whistle Placement and Accessibility
Your whistle is useless if you can't reach it quickly in an emergency. Keep it attached to your body or your gear in a readily accessible location. A lanyard worn around your neck is a good option, especially if you're wearing a backpack. You can also attach it to your backpack strap, belt loop, or keychain. Make sure it's not buried at the bottom of your bag or inside a pocket where you'll have trouble finding it. Consider having multiple whistles in different locations, such as one in your car, one in your home emergency kit, and one on your person. Redundancy is key when it comes to emergency preparedness.
Maintaining Your Whistle: Emergency Whistle Care and Longevity
To ensure your whistle is ready when you need it, it's important to take care of it properly. For pealess whistles, simply rinsing them with water after use is usually sufficient. For ball whistles, you may need to disassemble them occasionally to clean out any debris that may have accumulated. Store your whistle in a dry place to prevent corrosion. Inspect it regularly for any signs of damage, such as cracks or breaks. Replace it if it's damaged or if the sound quality deteriorates. A good quality whistle, properly maintained, should last for many years.
Beyond the Basics: Emergency Whistle Training and Drills
While simply owning a whistle is a good start, consider taking a first aid or wilderness survival course that includes training on how to use a whistle for signaling. These courses will teach you how to assess emergency situations, prioritize your needs, and effectively signal for help. You can also practice using your whistle in simulated emergency scenarios to build confidence and familiarity. Include whistle drills in your family emergency plan, so everyone knows how to use the distress signal and what to do if they hear it. It's like a fire drill, but with whistles!
:max_bytes(150000):strip_icc()/277019-baked-pork-chops-with-cream-of-mushroom-soup-DDMFS-beauty-4x3-BG-7505-5762b731cf30447d9cbbbbbf387beafa.jpg)