How to Set Up Roadside Warning Devices Safely and Effectively
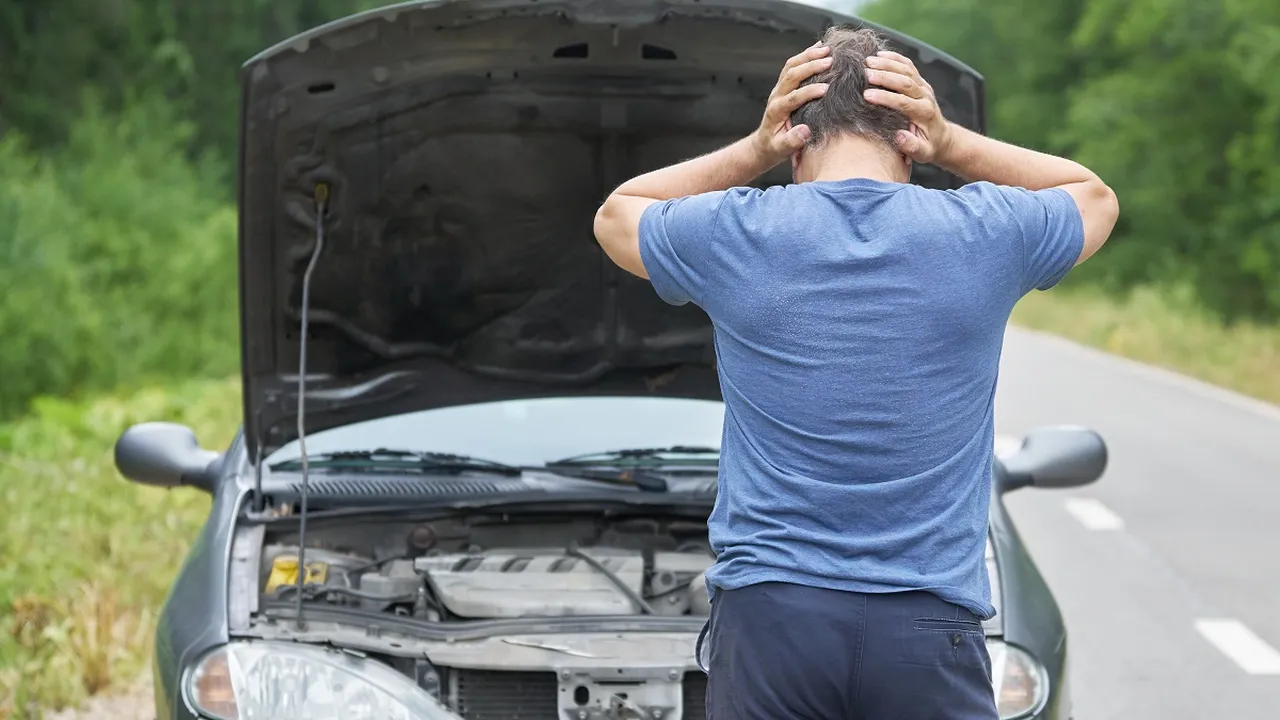
Understanding Roadside Hazards and the Importance of Warning Devices for Car Accident Prevention
Okay, let's face it. Nobody *wants* to be stuck on the side of the road. But hey, life happens. Flat tires, engine trouble, minor fender-benders – they’re all part of the driving experience. What's *not* part of the experience we want is getting hit by another car while we're dealing with the problem. That's where roadside warning devices come in. They're not just some optional accessory; they're your lifeline, your way of saying, "Hey, I'm here! Be careful!" Think of it like this: your car is temporarily vulnerable, and you are too. Warning devices create a safe zone, giving other drivers enough notice to slow down and avoid a collision. We’re talking about flares, reflective triangles, LED beacons – the whole shebang. Using them properly can drastically reduce your risk of becoming a statistic. And trust me, you don't want to be a statistic.
Choosing the Right Roadside Warning Devices for Different Emergency Situations and Visibility Conditions
So, you're thinking, "Okay, I get it. Warning devices are important. But which ones do I need?" Good question! It's not a one-size-fits-all situation. The best choice depends on the time of day, the weather, and the type of road you're on. Let's break it down:
- Flares: These are your classic, old-school warning device. They're bright, attention-grabbing, and work well in almost any condition. The downside? They're flammable, can be affected by wind, and only last for a limited time (usually 15-30 minutes). Don't use them near flammable liquids!
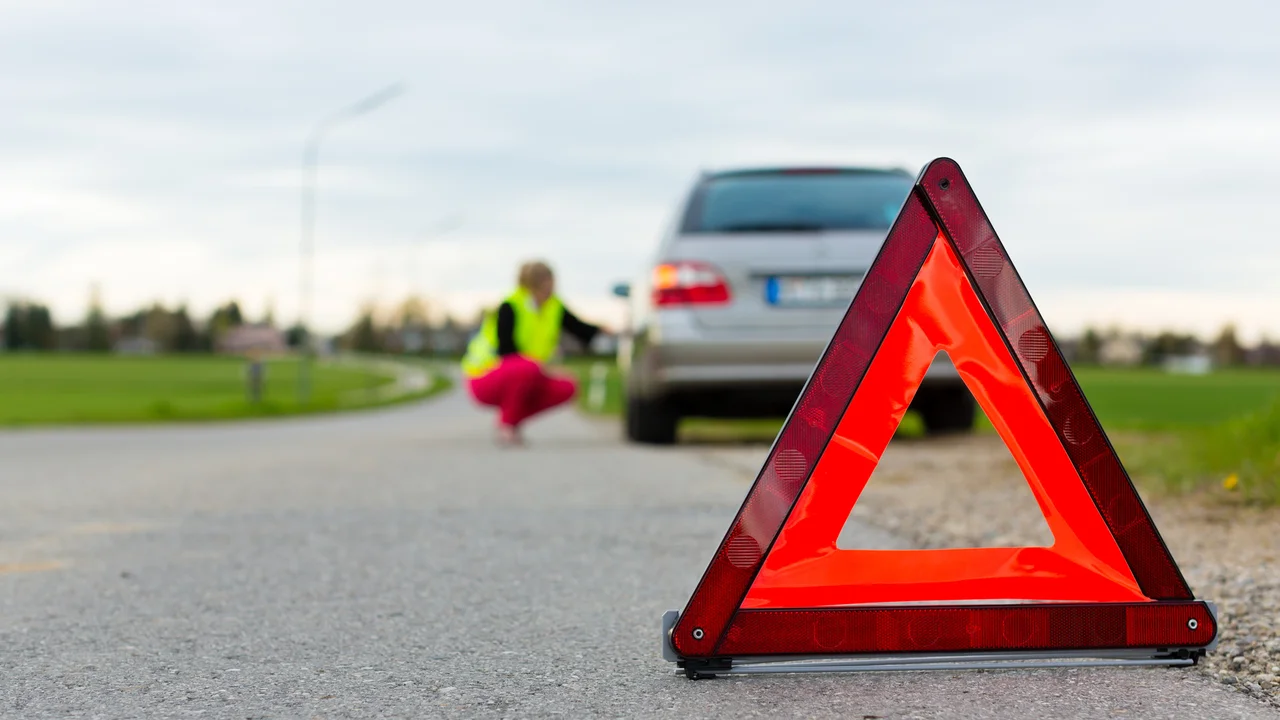
- Reflective Triangles: These are great for daytime use and offer excellent visibility. They're reusable, don't require batteries, and are generally safe to handle. The downside is they rely on headlights to be seen, so they're less effective at night or in low-light conditions.
- LED Beacons: These are the modern marvels of roadside safety. They're super bright, have long battery lives, and are highly visible in all weather conditions. Some even have different flash patterns for added attention. The downside? They're generally more expensive than flares or triangles.
- Safety Vests: While not a warning "device" in the same sense, a high-visibility safety vest is crucial. It makes *you* more visible to other drivers, especially at night.
Think about your typical driving conditions. Do you often drive on busy highways? Do you live in an area with frequent fog or rain? The answers to these questions will help you choose the right mix of warning devices for your needs.
Step-by-Step Guide to Safely Deploying Roadside Warning Flares for Maximum Visibility and Safety
Alright, let's talk about flares. These little guys pack a punch, but you need to use them correctly to get the most out of them. Here's the drill:
- Assess the Situation: Before you even *think* about getting out of your car, take a look around. Is it safe to exit the vehicle? Are there other cars approaching quickly? If you're on a busy highway, consider calling for help from inside your car before attempting to set up any warning devices.
- Gear Up: Put on your safety vest. Seriously. It makes a huge difference in your visibility.
- Grab Your Flares: Make sure you have enough flares for the situation. A good rule of thumb is three flares.
- Light the First Flare: Follow the instructions on the flare packaging. Usually, it involves striking the flare against a rough surface (like the striker on the flare itself). Be careful! Flares can spark and burn hot.
- Position the Flares: This is the crucial part. You want to create a buffer zone between your car and oncoming traffic. Place the first flare about 10-15 feet behind your car. Place the second flare about 50 feet behind the first. Place the third flare about 50 feet behind the second. This creates a gradual warning for drivers approaching your vehicle. On a two-lane road, consider placing flares on both sides of the road to warn drivers in both directions.
- Get Back to Safety: Once the flares are lit and positioned, get back to your car and wait for help to arrive. Stay inside your vehicle with your seatbelt fastened.
Important Note: Flares are HOT! Keep them away from flammable materials and never leave them unattended. Once they've burned out, dispose of them properly (usually in a metal container). And remember, they are not toys! Keep them away from children.
Proper Placement and Spacing of Reflective Warning Triangles for Optimal Day and Night Visibility
Reflective triangles are your reliable, reusable friends for roadside safety. They're simple to use, but proper placement is key. Here's the lowdown:
- Assess the Situation: Same as with flares, make sure it's safe to exit your vehicle.
- Gear Up: Safety vest – check!
- Unfold the Triangles: Most reflective triangles fold up for easy storage. Unfold them and make sure they're stable and standing upright.
- Position the Triangles: The spacing is similar to flares, but you can adjust it based on the speed limit of the road. On a road with a lower speed limit (e.g., 35 mph), you can place the triangles closer together (e.g., 25 feet apart). On a highway with a higher speed limit (e.g., 65 mph), you'll want to place them further apart (e.g., 100 feet apart). The first triangle should be placed about 10-15 feet behind your car.
- Consider the Road: If you're on a hill or curve, place the triangles *before* the hill or curve so that drivers have ample warning.
- Get Back to Safety: Back in the car you go!
Pro Tip: Keep your reflective triangles clean. Dirt and grime can reduce their reflectivity.
Utilizing LED Roadside Beacons for Enhanced Visibility in Low-Light and Adverse Weather Conditions
LED beacons are the modern champions of roadside safety. They're bright, durable, and highly visible, even in the worst weather. Here's how to use them effectively:
- Assess the Situation: You know the drill. Safety first!
- Gear Up: Safety vest – always!
- Activate the Beacon: Most LED beacons have a simple on/off switch or button. Activate it and choose the desired flash pattern. Some beacons have multiple flash patterns, including SOS signals.
- Position the Beacon: You can place LED beacons on the ground, attach them to your car (many have magnetic bases), or even hang them from a tree or other object. The key is to position them so that they're highly visible to oncoming traffic.
- Spacing: Similar to flares and triangles, use a gradual spacing pattern. Place the first beacon close to your car and then space the others out further behind it.
- Weather Considerations: In heavy rain or fog, position the beacons higher up to improve their visibility.
- Battery Life: Keep an eye on the battery life of your LED beacons. Some models have a low-battery indicator.
- Get Back to Safety: You know what to do!
Specific Product Recommendations for Roadside Warning Devices with Features, Benefits, and Price Comparisons
Okay, let's get down to the nitty-gritty. Here are some specific product recommendations for roadside warning devices, along with their features, benefits, and approximate prices (prices may vary depending on the retailer):
Flares:
- Orion Safety Products 30-Minute Road Flares (3-Pack): These are your standard, reliable road flares. They burn for 30 minutes and are easy to ignite. Price: ~$10-15
- Sirius Signal SOS C-1002 Electronic Flare: This is a US Coast Guard approved alternative to traditional flares. It uses LED technology and has a runtime of up to 60 hours. Price: ~$100-120. Benefit: Eliminates the risk of fire.
Reflective Triangles:
- EPAuto Emergency Folding Reflective Warning Triangle (3-Pack): These are well-made, stable reflective triangles that meet DOT standards. They fold up for easy storage. Price: ~$20-25
- CarQiWireless Warning Triangle LED Road Flare Kit: Combines reflective triangles with LED lights for increased visibility. Price: ~$30-40. Benefit: Enhanced visibility, especially at night.
LED Beacons:
- Wagan EL2733-5 Smart Bright LED Roadside Emergency Flare (3-Pack): These are bright, durable LED beacons with multiple flash patterns. They have a magnetic base for easy attachment to your car. Price: ~$30-40
- Streamlight Siege X USB Rechargeable Emergency Auto Light: A versatile, rechargeable LED light that can be used as a beacon or a flashlight. It's waterproof and has a long runtime. Price: ~$50-60. Benefit: Dual-purpose light.
Safety Vests:
- Neiko High Visibility Reflective Safety Vest: A basic, affordable safety vest that meets ANSI standards. Price: ~$10-15
- Vilight High Visibility Reflective Safety Vest with Pockets and Zipper: A more premium safety vest with multiple pockets for storing tools and other items. It also has a zipper closure. Price: ~$20-25. Benefit: Added storage and convenience.
Real-World Scenarios: How Different Warning Devices Perform in Various Roadside Emergencies
Let's imagine a few scenarios and see how different warning devices would perform:
- Scenario 1: Flat tire on a sunny afternoon on a rural road. In this case, reflective triangles would be a great choice. They're easy to set up, highly visible in daylight, and don't require batteries.
- Scenario 2: Car accident on a busy highway at night in the rain. This is a more challenging situation. You'd want to use a combination of LED beacons and flares. The LED beacons would provide constant, bright illumination, while the flares would add an extra layer of attention-grabbing visibility. A high-quality safety vest is absolutely essential.
- Scenario 3: Engine trouble on a foggy morning on a winding mountain road. LED beacons would be the best choice here. Their bright light can penetrate the fog, and their different flash patterns can help drivers navigate the winding road. Reflective triangles would also be helpful, but their effectiveness would be limited by the fog.
Maintenance and Storage Tips to Ensure Roadside Warning Devices are Always Ready for Use
Your roadside warning devices are only effective if they're in good working order. Here are some maintenance and storage tips:
- Flares: Store flares in a cool, dry place. Check the expiration date regularly and replace any expired flares.
- Reflective Triangles: Keep reflective triangles clean and free of dirt and grime. Store them in a protective case to prevent damage.
- LED Beacons: Check the batteries regularly and replace them as needed. Store LED beacons in a dry place.
- Safety Vests: Keep safety vests clean and store them in a place where you can easily access them.
Legal Requirements and Regulations Regarding Roadside Warning Devices in Different States
It's important to be aware of the legal requirements and regulations regarding roadside warning devices in your state. Many states require drivers to carry certain types of warning devices and to use them properly in the event of a roadside emergency. Check your state's Department of Motor Vehicles (DMV) website for more information.
The Importance of Driver Education and Awareness in Preventing Roadside Accidents
Ultimately, the best way to prevent roadside accidents is through driver education and awareness. Drivers need to be aware of the dangers of distracted driving, speeding, and driving under the influence. They also need to be aware of the importance of using roadside warning devices properly. By educating drivers and raising awareness, we can make our roads safer for everyone.
:max_bytes(150000):strip_icc()/277019-baked-pork-chops-with-cream-of-mushroom-soup-DDMFS-beauty-4x3-BG-7505-5762b731cf30447d9cbbbbbf387beafa.jpg)